
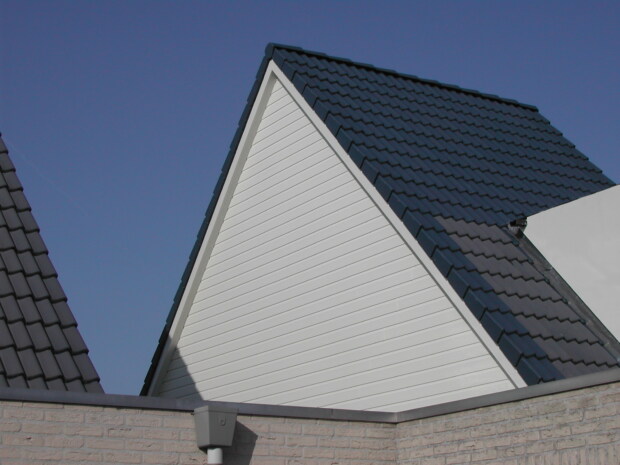
Installation manual Pofex wall cladding
Important:
- Store panels flat, dry and covered (not in direct sunlight).
- Always check the materials for any defects before processing them.
- Half-fasten the panels with Profex screws to allow for movement.
- 10 mm dilatation joints (expansion gap) between the top sides of the panels and all auxiliary profiles.
- Heated air behind the panels must be able to dissipate above and below through sufficient ventilation.
General:
- Use a heated place to saw and work when working at temperatures under 5.°C.
- Auxiliary profiles must be fastened with stainless steel staples, nails or screws.
- Profex wall cladding can expand or shrink up to 2.5 mm per metre.
Framework (batten) and fastening:
- Never close off a horizontal girder thickness of 20 to 28 mm between the girders!
- Profex wall cladding should be installed at least 50 mm above ground level.
- Fasten start profiles and ventilation profiles (pest repellent profiles) in such a way that the bottom panel has sufficient support.
- First install the panel in the panel’s centre, inserting screws to the left and the right in the groove.
- Then install the screws from the centre to the ends in the centre of the groove.
- Ensure that any insulation and/or film present cannot bulge in such a way that would hinder ventilation.
- Horizontal girders may not impede ventilation, which means that vertical girders must be installed first.
Maintenance:
- Clean with a mild soap and water solution; never use solvents!